
Let’s say, your company needs to ensure that backups are in place for all Azure file shares. Because employees are often modifying files within the file share, file versioning is also important. To test functionality, In this blog we will see by taking a snapshot of a file share and restoring it to your Windows machine.
In this blog , How can we create and restore file share in Azure and track modifying files within the file share.
Step-1 – Create a new storage account.

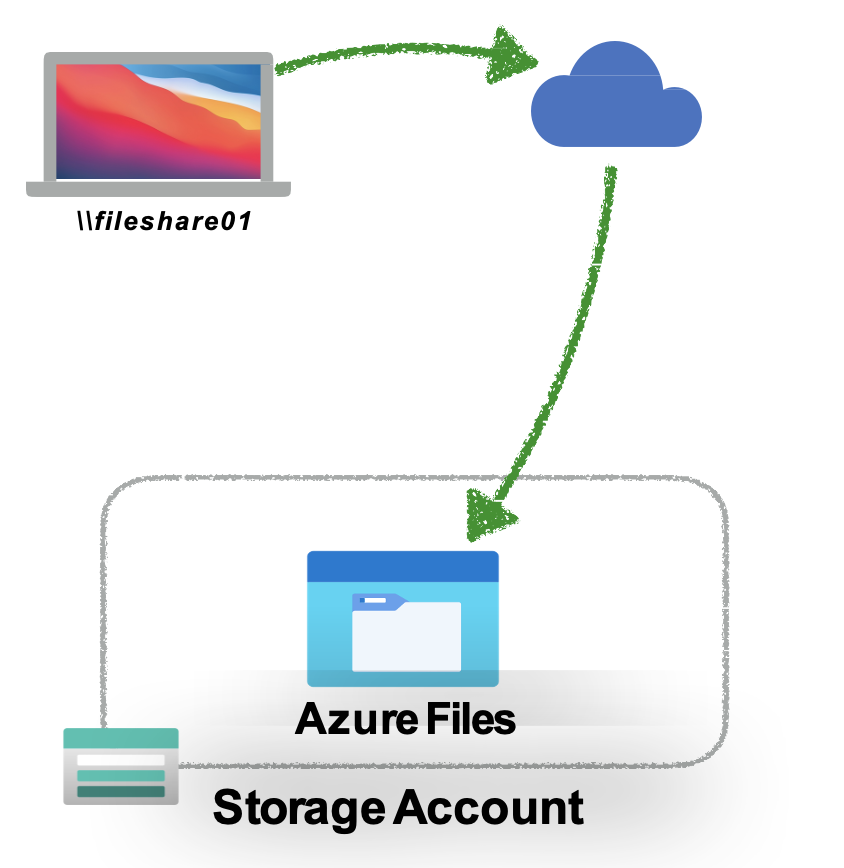
Step-2 – Create a file share named fileshare1 with a 5 GiB limit.

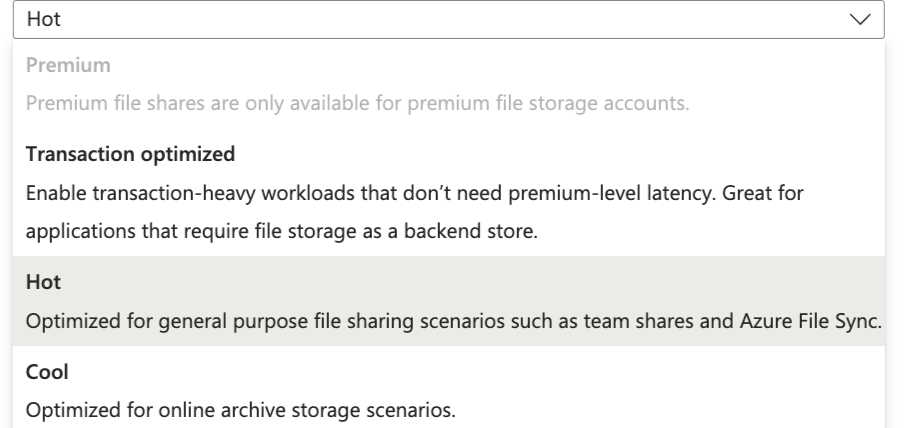
Choose Tiers as per usage
Step 3– Let’s connect to the VM .Once connected, search for Windows Firewall and open it. Turn the Firewall state to Off. Click Apply and then Ok.

Step 4- Search for Windows PowerShell and run as administrator.

Step 5– In the Azure portal, click Storage accounts.Select fileshare1, click Connect and copy the PowerShell script.

Step 6– run the script.

Note- You may get connectivity issue if your firewall is not turned off . I have already turned off in step 3. Hit enter to proceed and I am able to connect.

Now let’s open windows explorer you can see shared Z drive.

Step 7 – Now let’s create file txtfile_snapshot.txt to make some changes and restore from previous snapshot.

Step 8– Verify the file updated in Azure Storage file share.

Step 9– Verify the snapshots and add first snapshot.

Step 10– Let’s go and make some changes to the file and save.

Step 11– Now let’s restore previous version of file from snapshot taken earlier. To restore the previous version, right-click the Z drive, and select Restore previous versions.

Step 12 – Verify previous version of snapshot by choosing open or you can restore by click on restore button.

Step 13 – After you click confirm to restore . File will be restored to previous version. Verify the file .

Thanks for reading.